Software Training
As an e-learning developer at AVEVA, I worked with a team of international SMEs to design and develop e-learning modules for the AVEVA software. I was responsible for building Moodle content, based on project deadlines and brand guidelines, while sourcing all graphics and media where required.
This page presents screenshots of these courses and one sample tutorial video. While contracting at AVEVA, I also introduced a new way to review videos and created new templates and checklists. Some examples are shared at the bottom of this page.
You can click the thumbnails here to jump to a particular section, or scroll down to find out more.

Let’s start with some screenshots of Moodle courses…
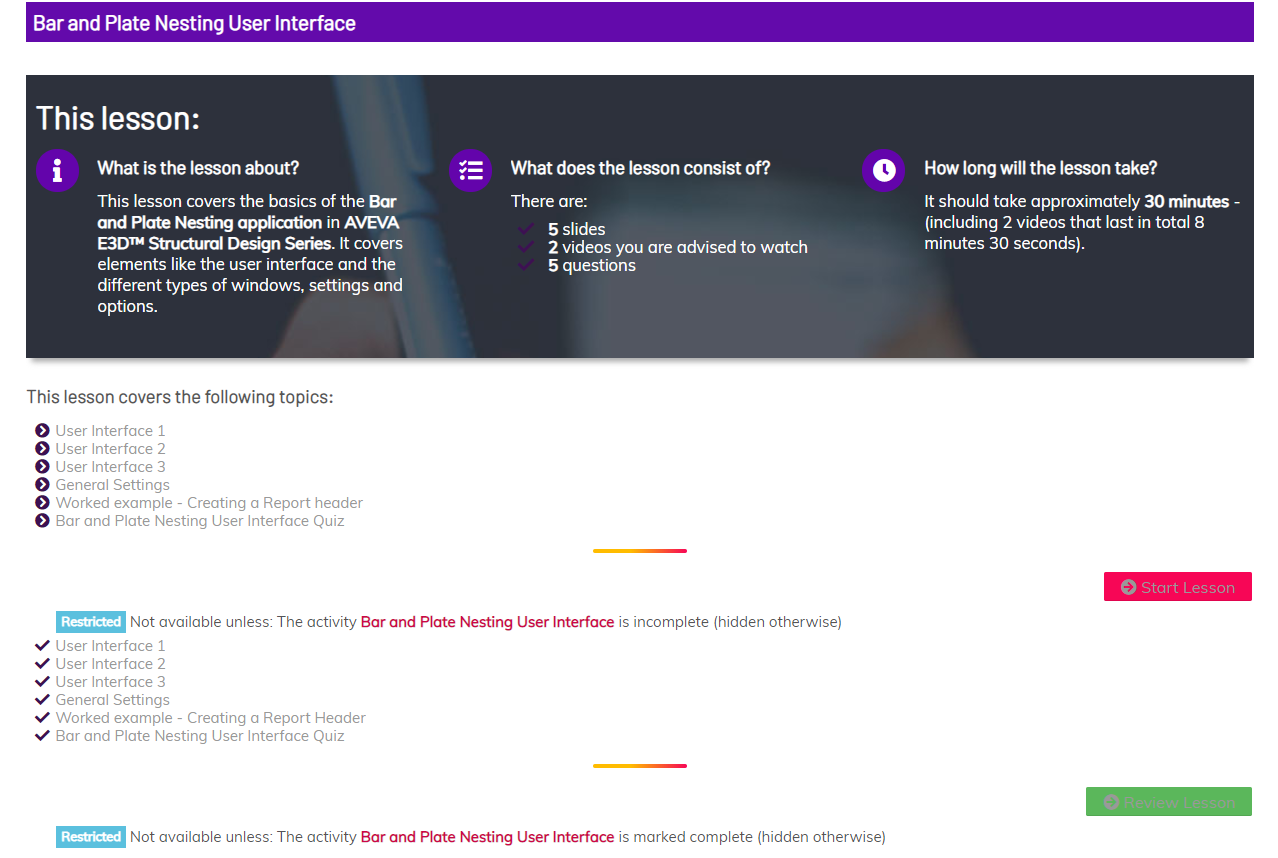
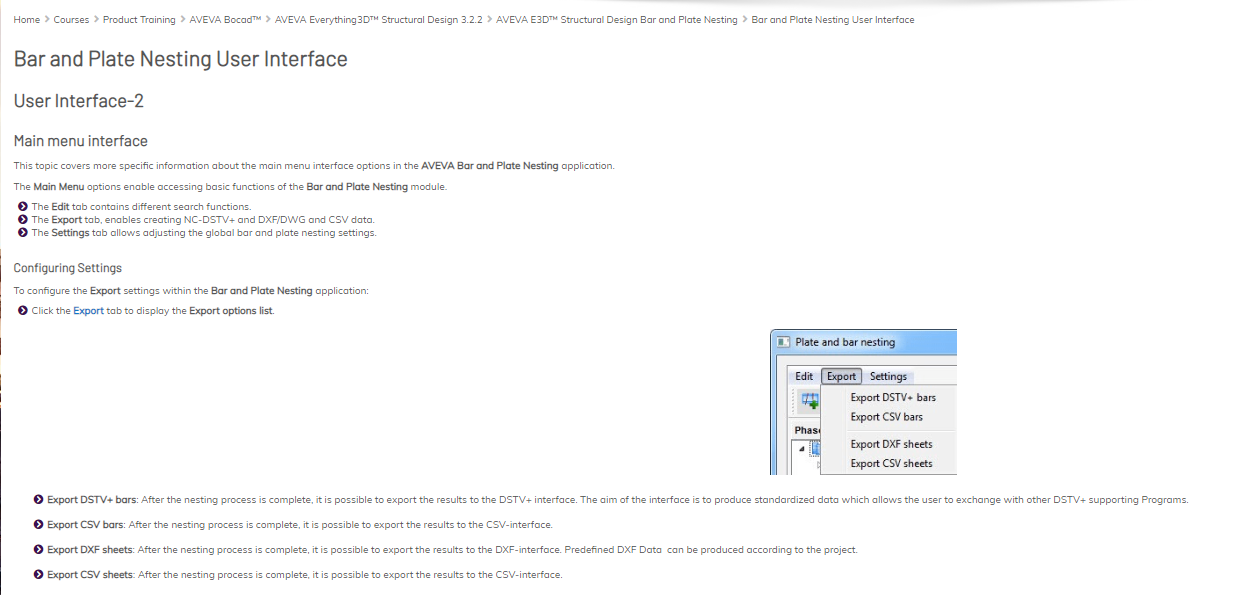
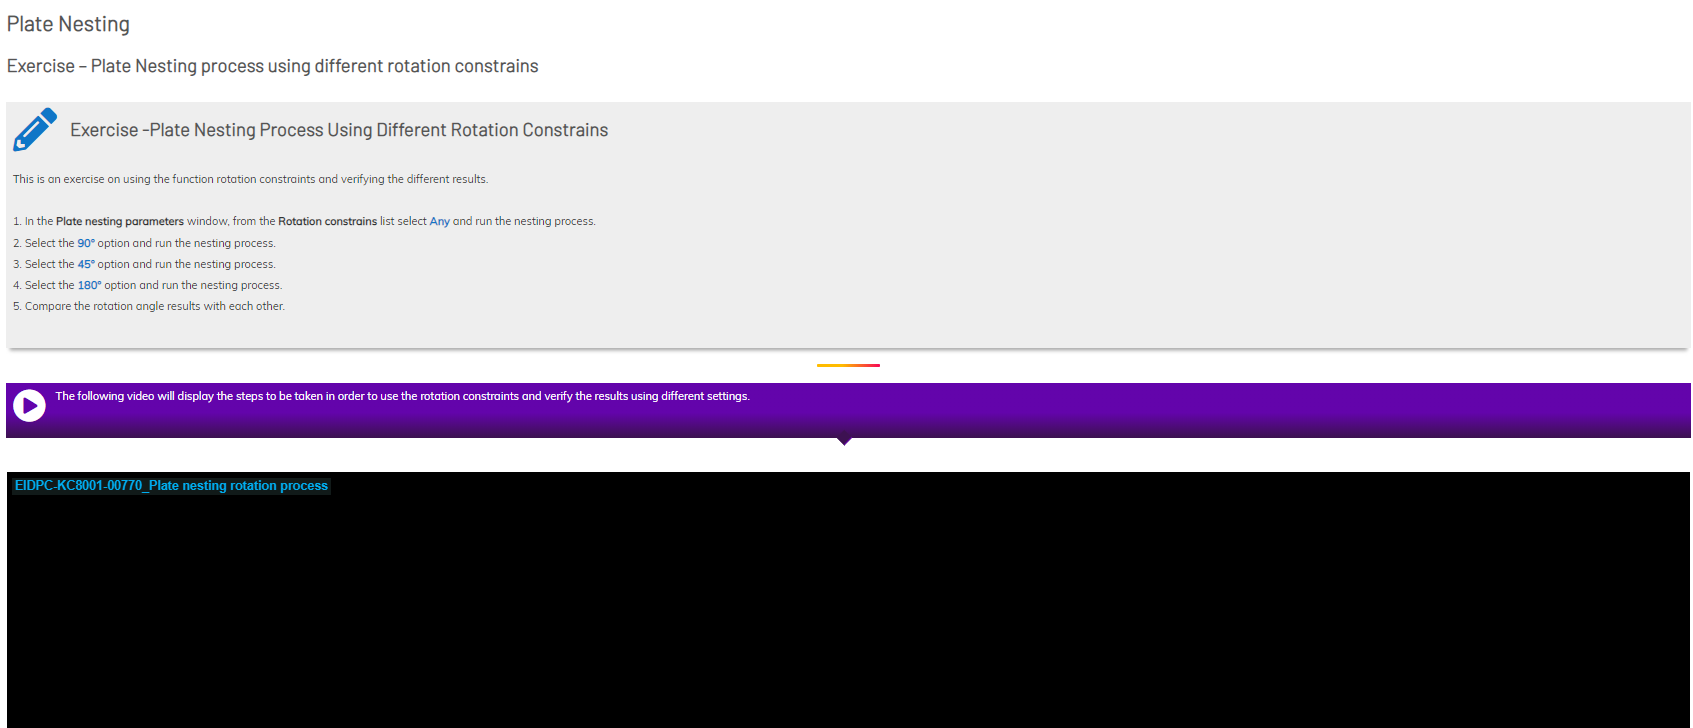
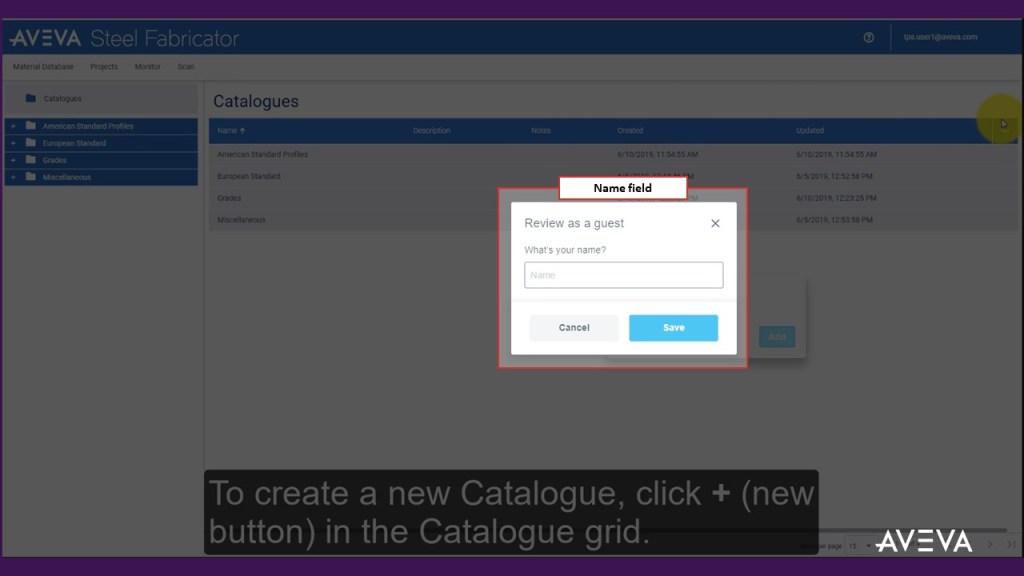
These screenshots are extracts of some courses I built for AVEVA software training. They followed a task-based approach, where software functions were broken down to small steps. The students read instructions on the page and then had an opportunity to test themselves, or follow a worked example. Upon completion the students were able to print a certificate to prove competency in the software.
About AVEVA Software
AVEVA is a multi-national company which specialises in industrial software for engineering and manufacturing. They have a large portfolio of tools which are being widely used in the industrial world. While contracting for them, I primarily designed courses to teach staff and new clients how to use ‘AVEVA Everything 3D’ and ‘AVEVA Bocad’.
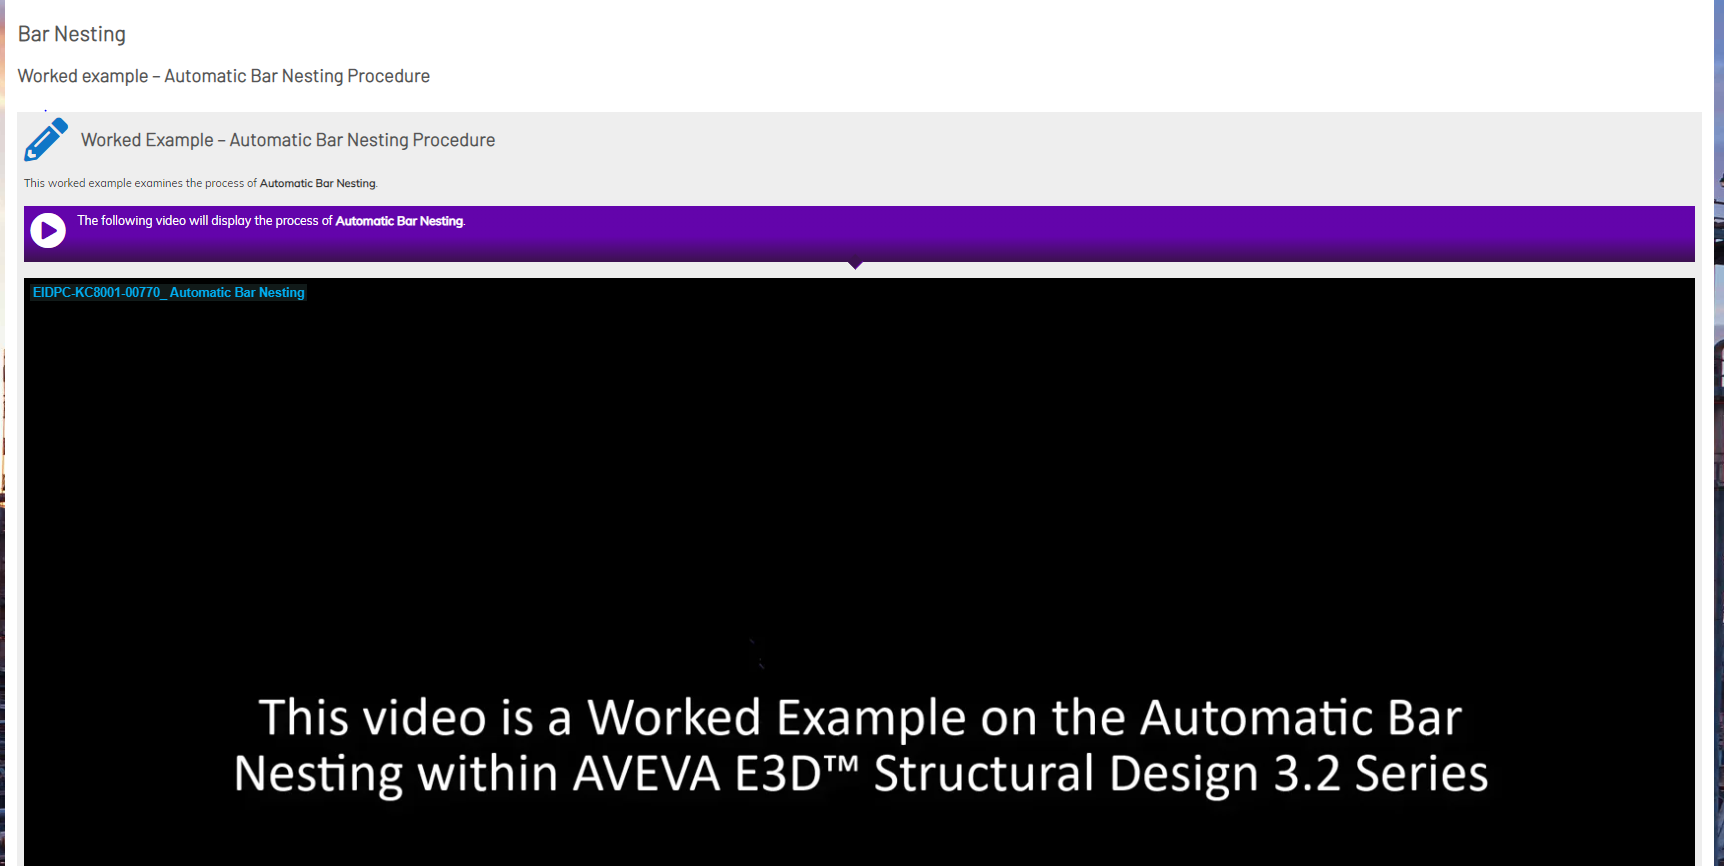
Let me show you a tutorial video made with Camtasia…
While at AVEVA, I was making tutorial videos, which were being added in the e-learning courses. I made videos for various purposes; some were worked examples, taking the learner through every step of the software functions, some were interface demos and some were solutions to exercises that the students had to complete before watching the video. The below is just an example of these video tutorials.
To view this in a larger player, please click the full screen icon, which is located next to the Wistia logo.
I also created checklists and templates for the team to use…
A Course Checklist
I was assigned my very first project on Day 2 at AVEVA, but soon enough I realised that there were inconsistencies in the way the team was creating content. After a few months into the role, and after discussing this with the team, I was tasked with creating some checklists and templates for everyone to use consistently.
The team already had quality standards in place, which were heavily influenced by the brand guidelines. However, there were some inconsistencies in the setup of our courses when they went live. This disrupted the cohesion of our programmes and the learner experience, so along with a senior member of the team, we put in place a series of checks which needed to happen before a module went live.
My role in this checklist creation
It should be noted that I was only a contractor at that time, but because of my attention to detail and adherence to quality standards, I was allocated to work on this task. I generated the quality criteria required for consistency and finalised the list with the team. Then, I built a course to share the information with the wider team in an interactive format and I also created all the relevant documentation.
Click the images below to see some samples of the checklist in its interactive format, or visit this link to view the process document that I created.
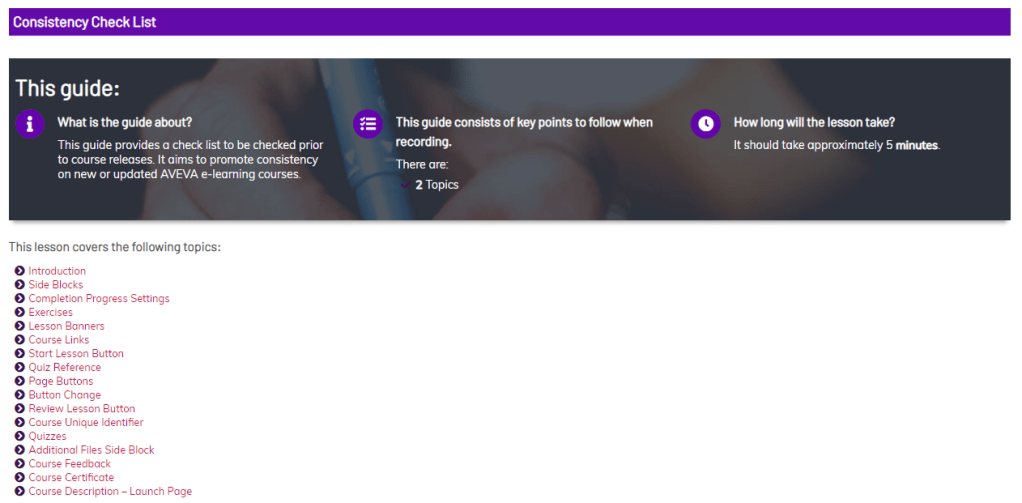
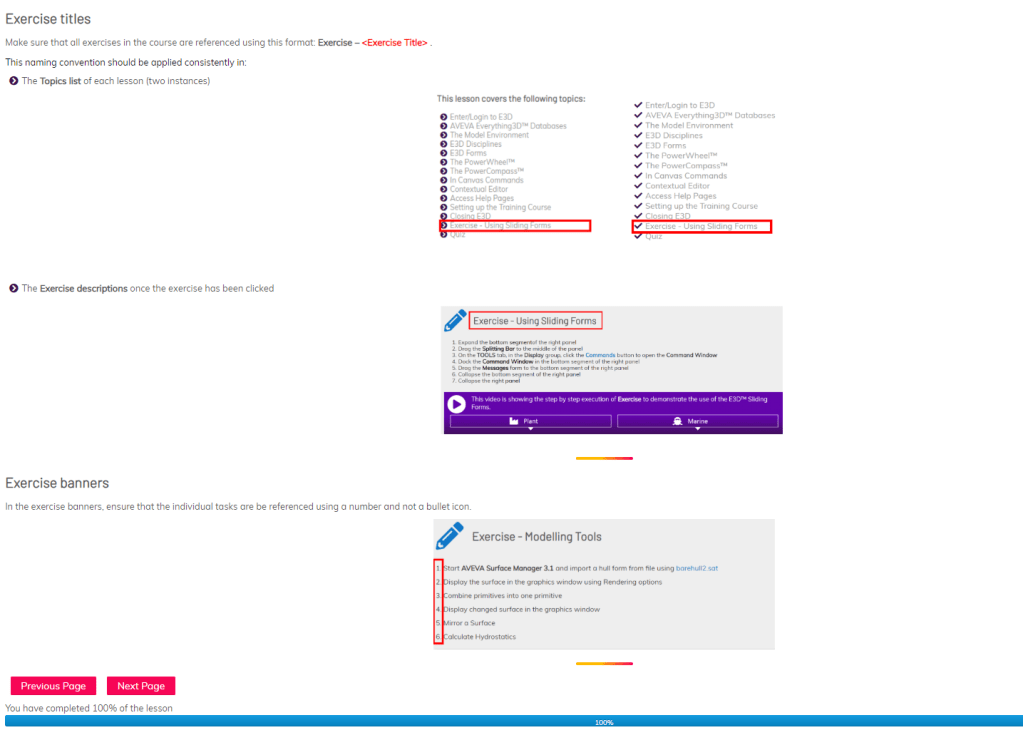
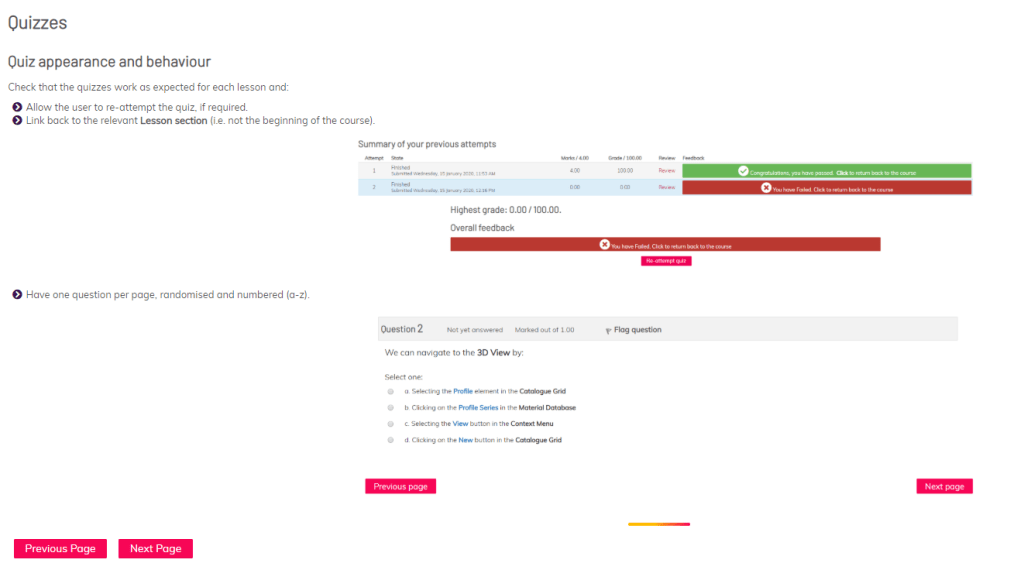
Image labelling guidelines
We also realised that there were inconsistencies when interface graphics were being labelled for our modules. Along with other members of the team, we agreed on a consistent approach and I created templates and documentation to enable SMEs and developers achieve consistent results.
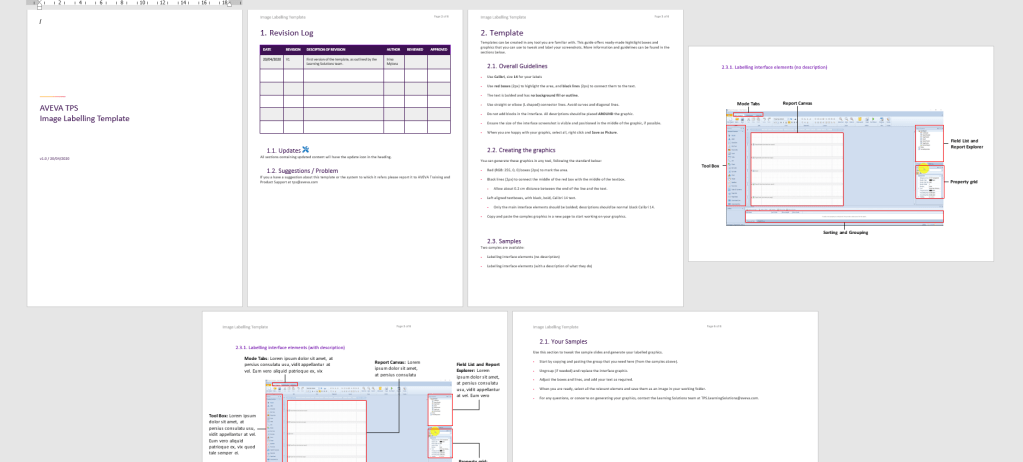
Click to view.
Click to view.
Finally, I contributed to the team processes and innovation…
The team at AVEVA was in its infancy, so after I joined, we started reviewing the way we worked and our processes. Two of my main contributions to the team’s workflows were introducing a new way to review videos and encouraging the team to rethink the way they created content.
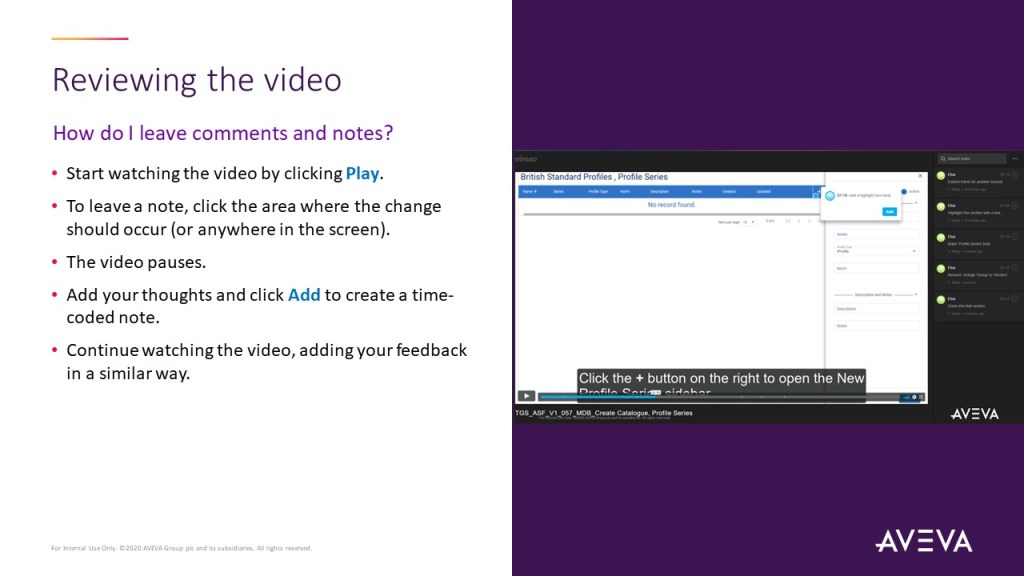
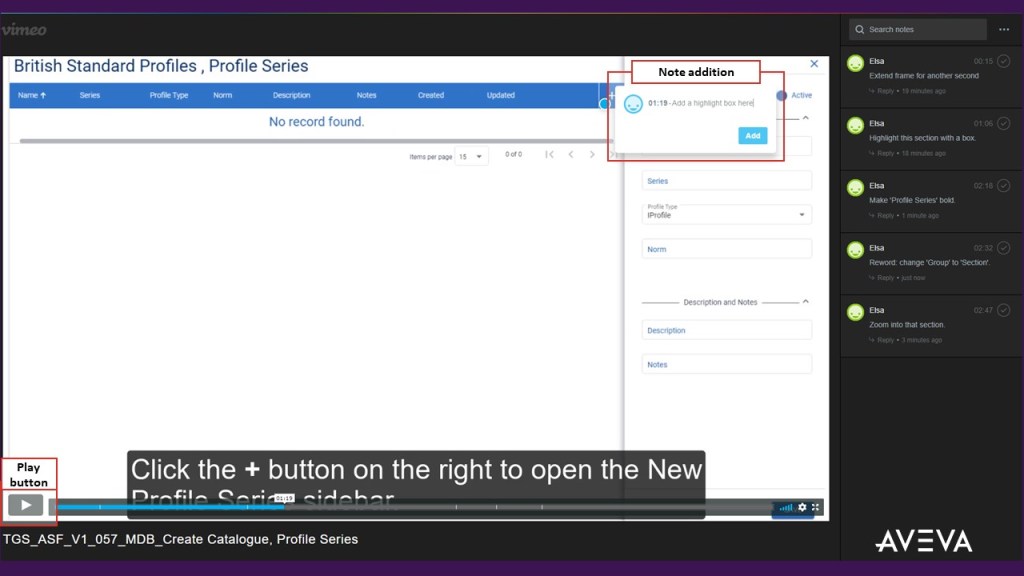
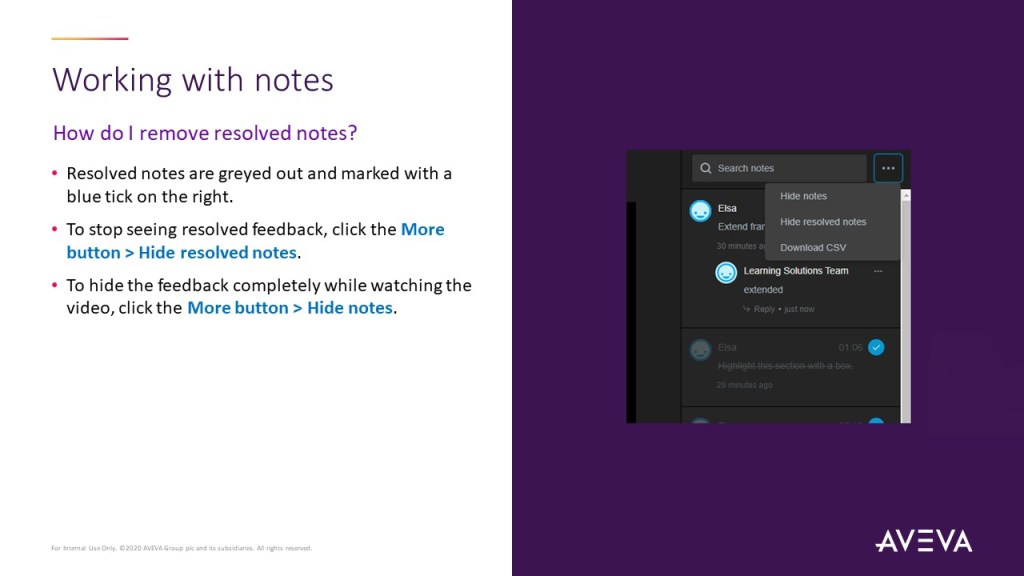
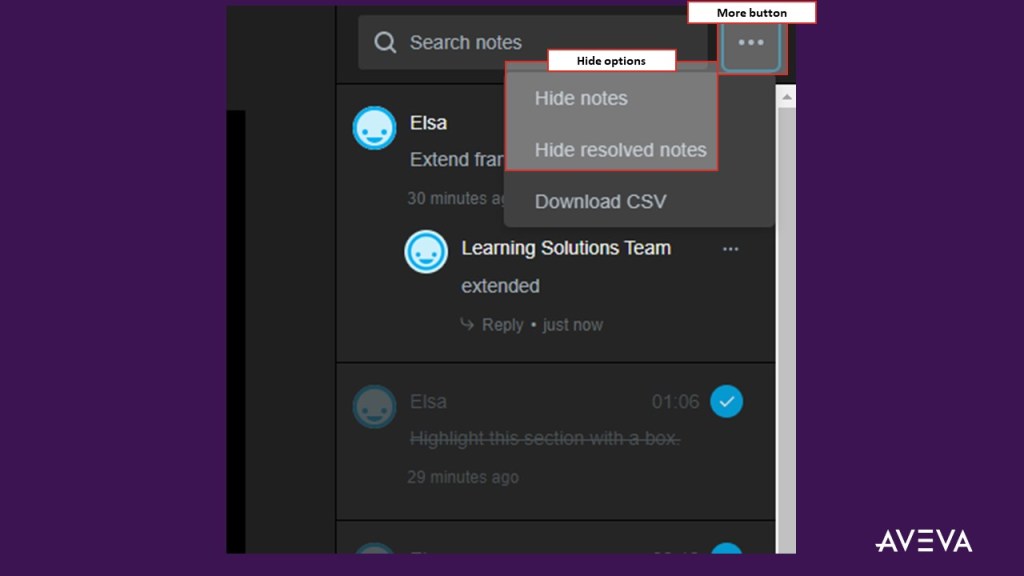
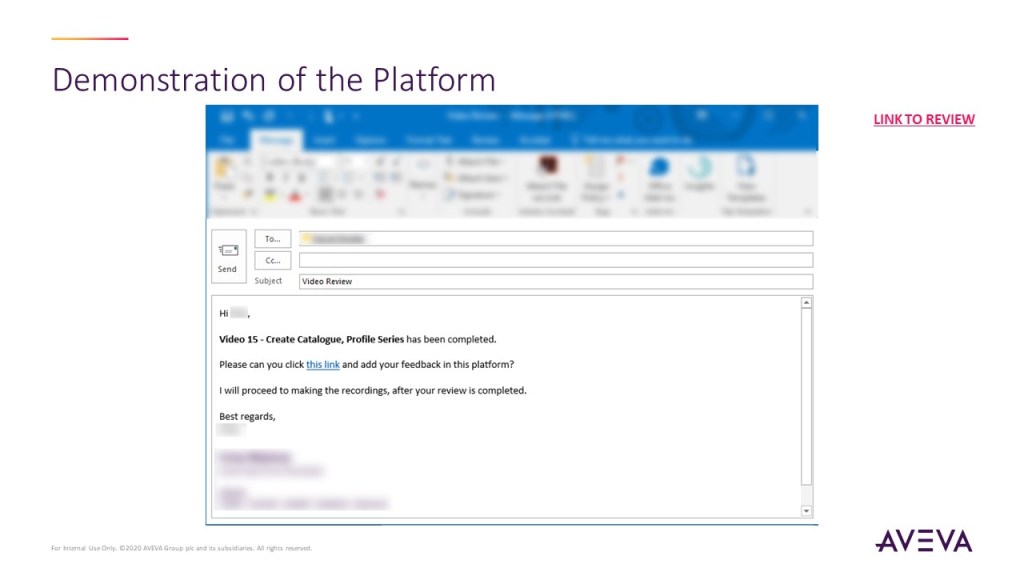
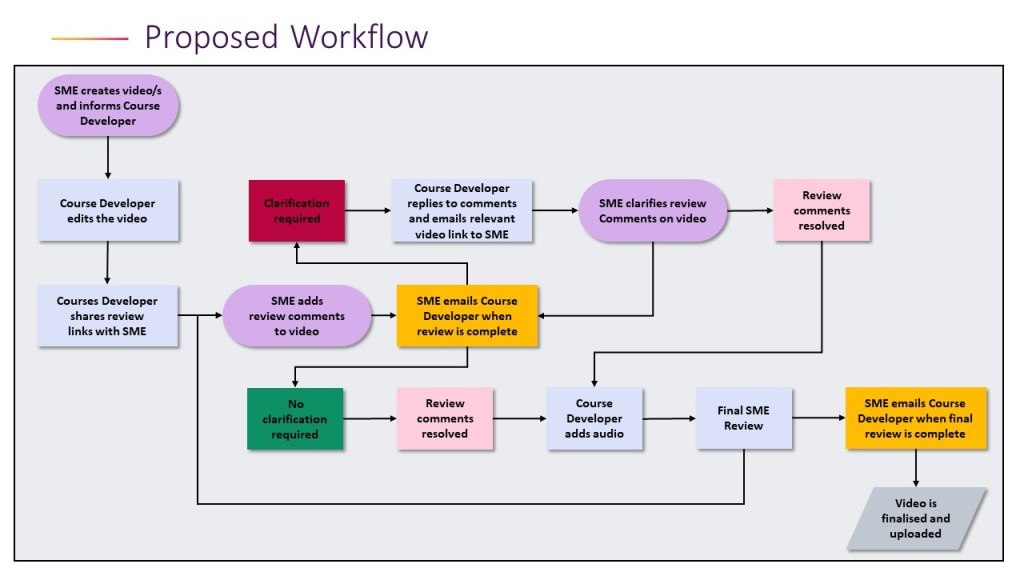
New video review process
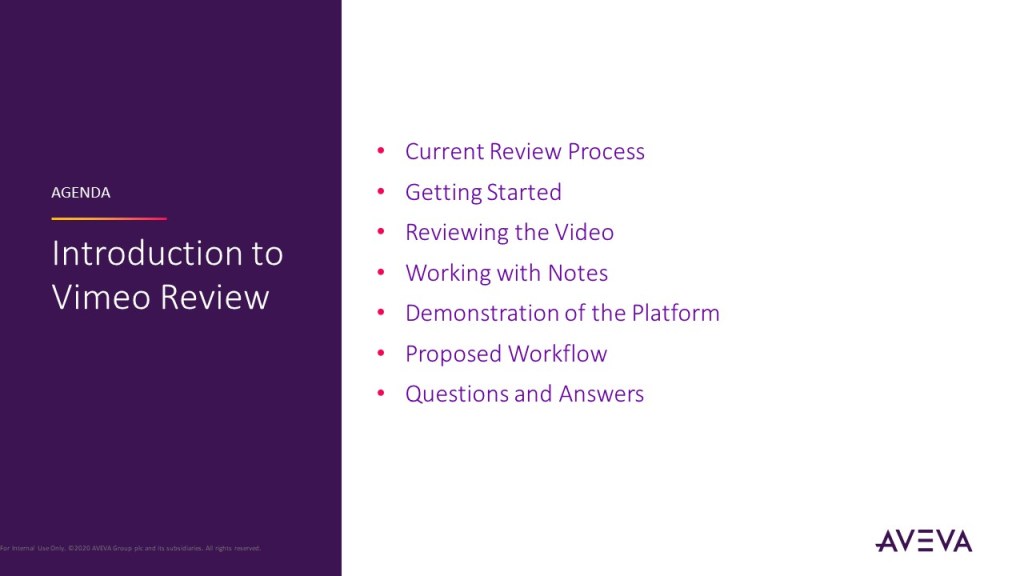
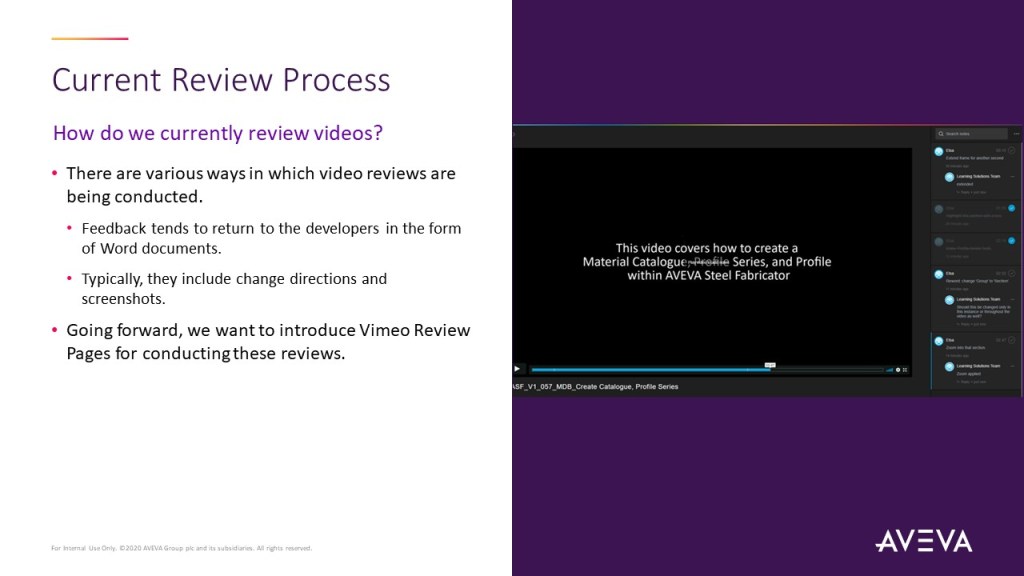
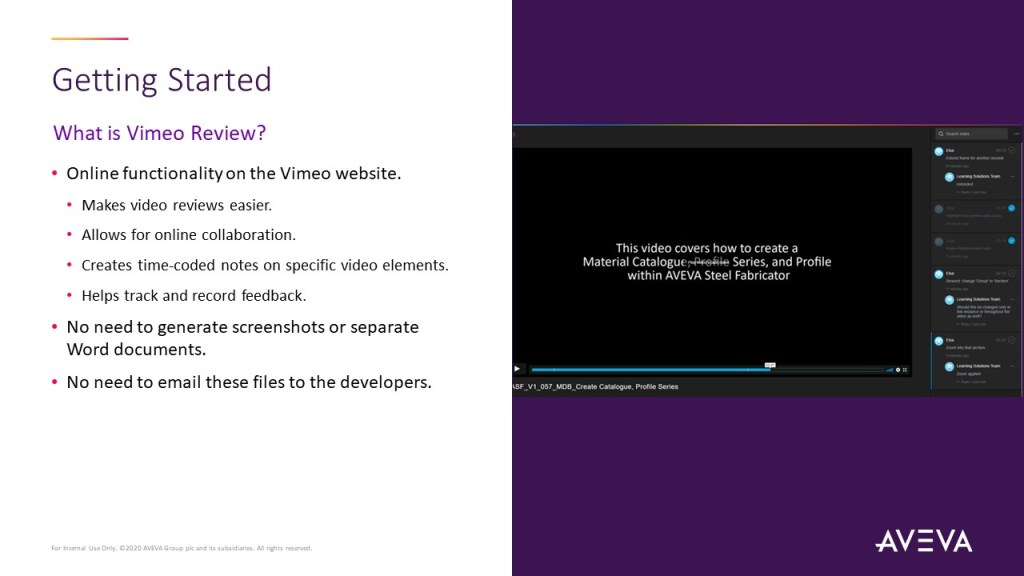
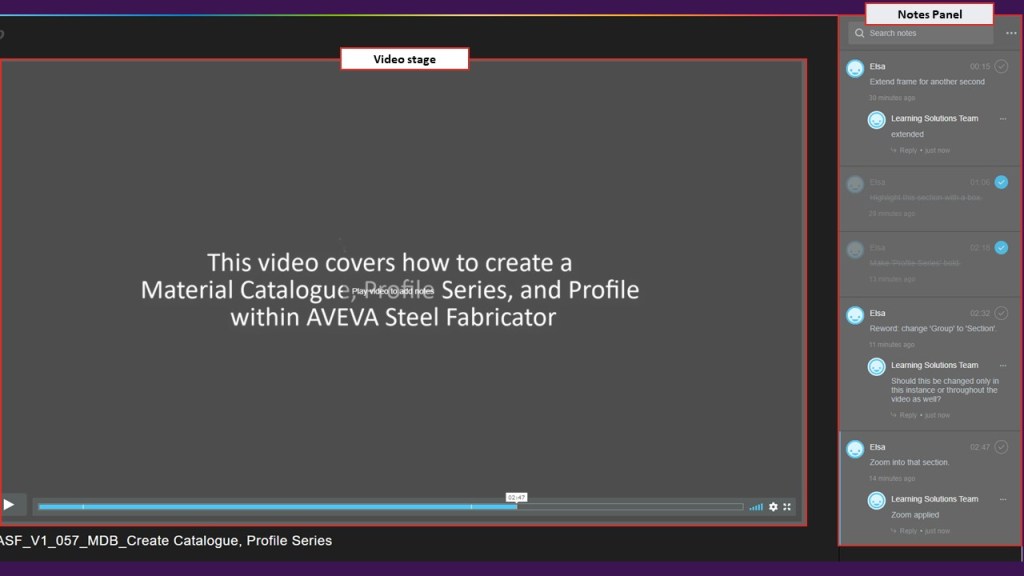
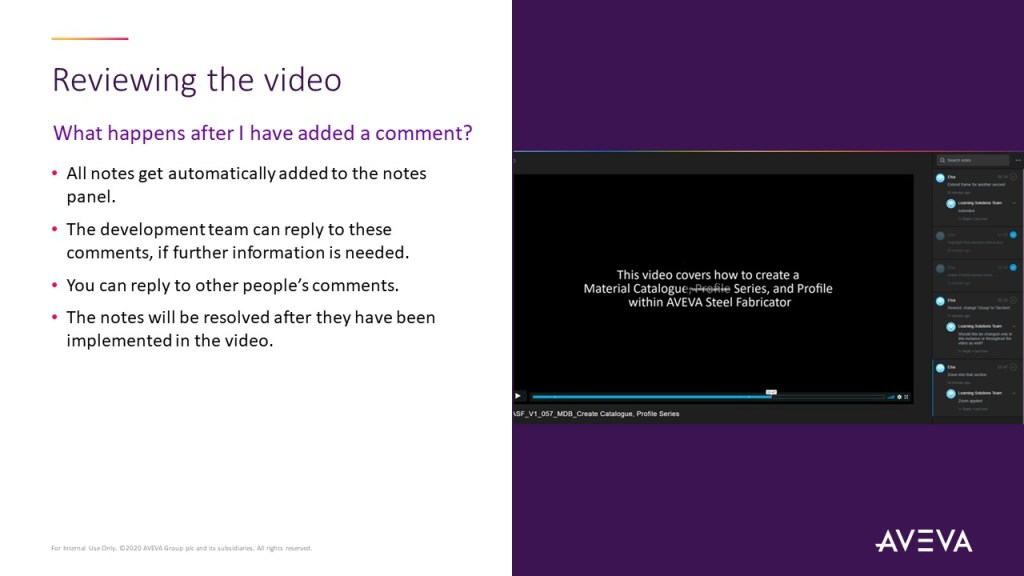
After realising that the video review process was taking the team a long time to implement and that more often than not reverse engineering was required, I introduced a new tool and set up a process so that we work smarter. I ran a global presentation with all our SMEs (~150-200 people) introducing the new workflow, which made video reviews simpler and clearer to complete. This is the slide deck I used to introduce Vimeo Review to our global teams.


Innovation: Rethinking content design
My main contribution to the team’s thinking was demoing and introducing a new way to deliver content. The team was primarily using Moodle and videos for content delivery. Towards the end of my contract, I introduced two demos as proof of concept on how we could use Storyline to create interactive interface activities. I did not stay longer to see this concept come to life, but I know that the team now uses interactive components in their course design. If you would like to see the quick demos I put in place to drive team innovation, you can click the links below.
Proof of concept only!
Please note that these were just created as proof of concept, using existing, low-resolution screenshots and text-to-speech audio. They were only made to discuss the possibilities of Storyline and get the team’s investment.
What would you like to view next?